Layer masks allow you to control a layer's level of transparency. While it is easy to control the opacity of a layer globally using the Opacity slider, Layer masks are useful when wanting to deal with part of a layer. Use layer masks to hide or reveal portions of the layer beneath. Layer masks are useful for combining multiple images into a single image or for making localized adjustments.
The easiest way to understand layer masks may be to think of them in the following ways:
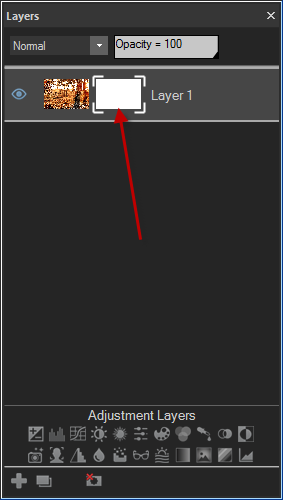
A white layer mask completely covers the layer below it. As you paint on the white layer mask with a black brush, you are brushing "holes" through the mask, allowing you to see through to the layer below. Conversely, a black layer mask is transparent and completely displays the layer below it. As you paint on the black layer mask with a white brush, you are masking the image, covering the layer below.
To Create a Layer Mask:
Do one of the following:
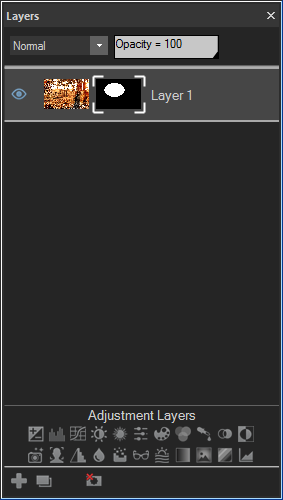
The layer mask will appear as a white or black box in the Layers pane next to the thumbnail of the image on the layer you right-clicked. To perform actions to the layer mask, you must select it in the Layers pane. You can alter the opacity of layer mask by dragging the Opacity slider at the top of the Layers pane. You can apply any Edit mode adjustment to the layer mask by selecting it and entering the tool.
|
Selected white layer mask |
|
|
Selected black layer mask |
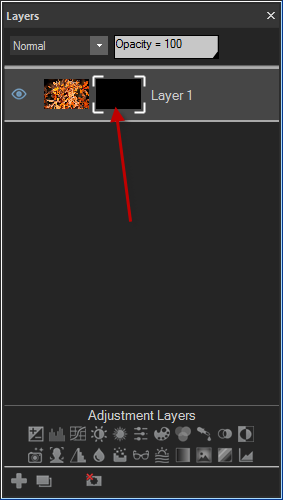
|
To Create a Layer Mask from a Selection:
You can make a layer mask from a selection.
To Edit a Layer Mask:
Select the layer mask in the Layers pane, then choose any adjustment, or drawing or selection tool.